Wireless Charging
1. Connect the wireless charging pad to included charger using the usb cable, and then plug the charger into household 110V-250V AC outlet.
2. Put the recorder on the pad for charging. It takes about 3 hours to fully charge.
Products DescriptionCamera Recorder HD 720P video Turning the Recorder On or Off Turn on: Press and hold on/off key for about 3 seconds until the screen light on, then the recorder is turned on. Press on/off key when the recorder is on, the screen will turn off. Turn off: Press and hold On/off key for about 3 seconds when the recorder is on to turn it off. The recorder will automatically turn off if no manual operation in 2 minutes. Insert/pull out TF card: With the recorder off, insert the TF card as shown below, If you want to use the TF card for data storage please set the storage directory to external storage in the settings menu when the recorder is on. The recorder support TF card 1GB ~ 32GB. To pull out the card just slightly push it when the recorder is off, then it will automatically pop up. Connecting to PC ❶ âť· Choose "Yes" to enter PC Camera mode. Choose “No” to enter usb memory drive mode. ❸ If no manual operation within 3 seconds the recorder will enter usb memory drive mode automatically. Press to return to the home screen. 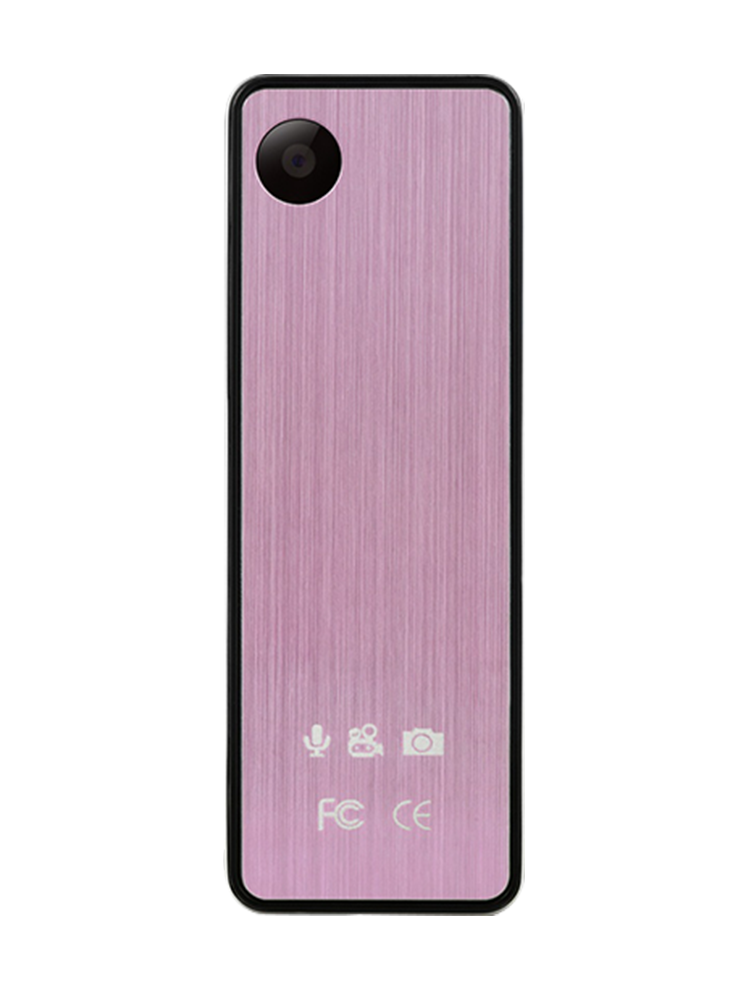 Charging the Battery The recorder use rechargeable 3.7V polymer lithium battery to provide power supply, the charging operations is as followings: Wireless Charging 1. Connect the wireless charging pad to included charger using the usb cable, and then plug the charger into household 110V-250V AC outlet. 2. Put the recorder on the pad for charging. It takes about 3 hours to fully charge. Charging With The Charger Connect the recorder to included charger using the usb cable, and then plug the charger into household 110V-250V AC outlet for charging. It takes about 3 hours to fully charge. Connecting To PC For Charging Connect the recorder to your computer using the included usb cable. After connected, the recorder will start charging automatically. It takes about 5 hours to fully charge. Note When the recorder battery is low please charge. Functions Overview HD 720P video; 8.0 Mega Pixels camera; PCM high quality voice recording; Wireless charging; Close the screen at any time; 1.5 inch color touch screen + touch key-press operation; Video, photo, voice recording and music playback; TF card support up to 32GB; Date & time display; Chinese and English two languages support; Video and voice recording automatic section break; Intelligent power monitoring; High-power loudspeaker built-in High-capacity polymer lithium battery built-in. Operations Press and holdon/offkey for about 3 seconds until the screen light on, then the recorder is turned on. Press on/offkeywhen the recorder is on, the screenwill turn off. Video Recording
Press
Record a Video
Press
Adjust Brightness Under video recording mode press - or + to adjust the image brightness. Set Video Parameters
Under video recording mode press M to enter Videotape setting menus. Press Automatic section break: The recorder will automatically stop and save the video file each 30 minutes of continuous recording, and then continue to record next video. Play a Video
Under video recording mode press Record Settings
Under voice recording mode press M to enter Record setting menus. Press Backlight Timer > Close, 10 seconds, 30 seconds, 60 seconds, 120 seconds. Factory Settings: > Yes, No. Memory Information: > Local Storage, External Storage. Version: Screen Calibrate Precautions Please read user's manual carefully before using the recorder to avoid injury or damage. 1. Charge the recorder frequently even when you do not use it for long time. 2. Do not place the recorder in high temperature, wet or dusty locations. 3. The recorder should be handled with great care. Do not drop or crash. 4. If the recorder doesn't respond during using you can use toothpicks or other non-metallic thin rod to stretch the reset hole to recover. 5. Backup the data regularly onto your computer to avoid data loss which may caused by improper operation, the recorder damages or other special. 6. We are not responsible for the recording failures which caused by improper operation, the recorder damages or other special. 7. Do not disassemble, open or repair the recorder yourself. Backup your data before sending for repair service. We are not responsible for the data loss which caused by maintenance or other special. 8. We are not responsible for the disputes, claims arising from the user's video recording, photo taking, or voice recording without permission. 9. We endeavor to ensure the manual's integrity. But if the contents do not match for technical or other reasons please take the product as standard. We reserve the right to modify the design and specifications without prior notice. 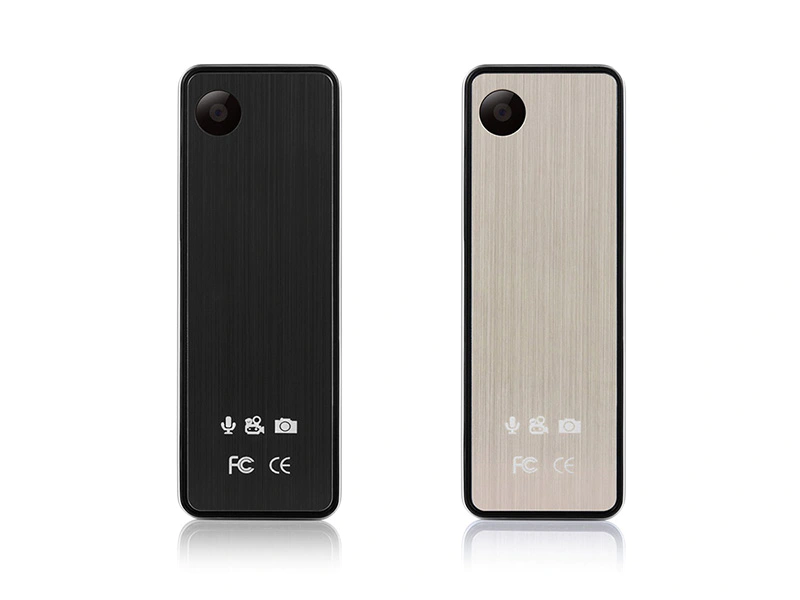 Technical Specifications
ReviewCustomers who bought this product also purchased... |
||||||||||||||||||||||
 or
or  to choose Video icon on the home screen, then tap Video icon or press
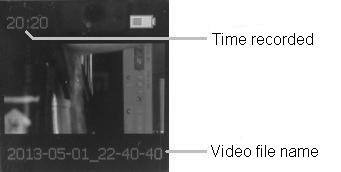
  to enter video recording mode, the screen shows as below:
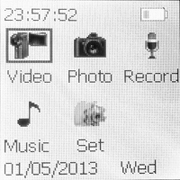
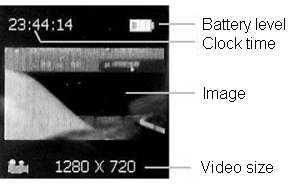
 or tap the screen display area to start recording video. Repeat the above operation to stop recording and save. When you are recording a video, the screen shows as below: